
Are you ready to upgrade your home? But, your electrical system might be outdated. I’ve seen wiring that’s older than vinyl records, and not all of it is timeless.
This isn’t just about counting outlets. We’re doing a deep dive into your electrical setup. Is your panel ready for today’s needs? Or did past owners leave behind some creative wiring?
We’ll look at load calculations and circuit maps. Why that old fuse box might be like trying to stream 4K on dial-up. Before we upgrade, we need to know what we’re working with.
This first step is key to a successful smart home upgrade. It’s where your smart home retrofit journey starts. With a clear plan and full understanding of your electrical system.
Wireless, wired, or hybrid approaches
Imagine your smart home as a cocktail party. Wireless devices are like the social butterflies, while wired systems are the reliable hosts. It’s not about picking sides, but knowing which works best where.
Let’s cut through the marketing nonsense. That smart bulb going offline? That’s wireless freedom’s flaky side. But that rock-solid security camera? That’s wired reliability at work.
When to go full CAT6 warrior: Run cable for digital apocalypse prep in areas where reliability matters most. Think security systems, gaming setups, and home offices. These need solid tech, not “maybe it’ll connect” stuff.
The wireless sweet spot: Use it in temporary spaces, rentals, or where you don’t want to tear down walls. Smart plugs, sensors, and lights? Perfect for wireless.
Hybrid systems are the secret sauce. Zigbee and Z-Wave often beat Wi-Fi for smart home devices. They make their own network mesh, easing your main Wi-Fi load and boosting reliability.
| Approach | Best For | Reliability | Installation Complexity |
|---|---|---|---|
| Wired | Permanent installations, security, high-bandwidth needs | Excellent (99.9%) | High (requires professional installation) |
| Wireless | Rentals, temporary setups, easy additions | Good (95%) | Low (DIY friendly) |
| Hybrid | Whole-home systems, mixed device environments | Very Good (98%) | Medium (some professional help recommended) |
The trick is to have a system where everything talks the same language. Wired systems handle the heavy tasks, while wireless devices do the flexible ones. It’s not sports car vs SUV, but having both in your garage.
Hybrid systems are like a well-orchestrated symphony. Each part plays its role, but they all follow the same conductor.
Phased roadmaps: pre‑drywall, trim‑out, and post‑move
Ever tried installing a smart home system after the walls are sealed? It’s like performing open-heart surgery through a keyhole. Timing isn’t just important—it’s everything. Get these construction phases wrong, and you’ll face what I call “drywall regret.”
I’ve watched clients realize they forgot conduit for outdoor cameras after painters finished. That sinking feeling? Avoidable. We approach installation with military precision across three critical phases.
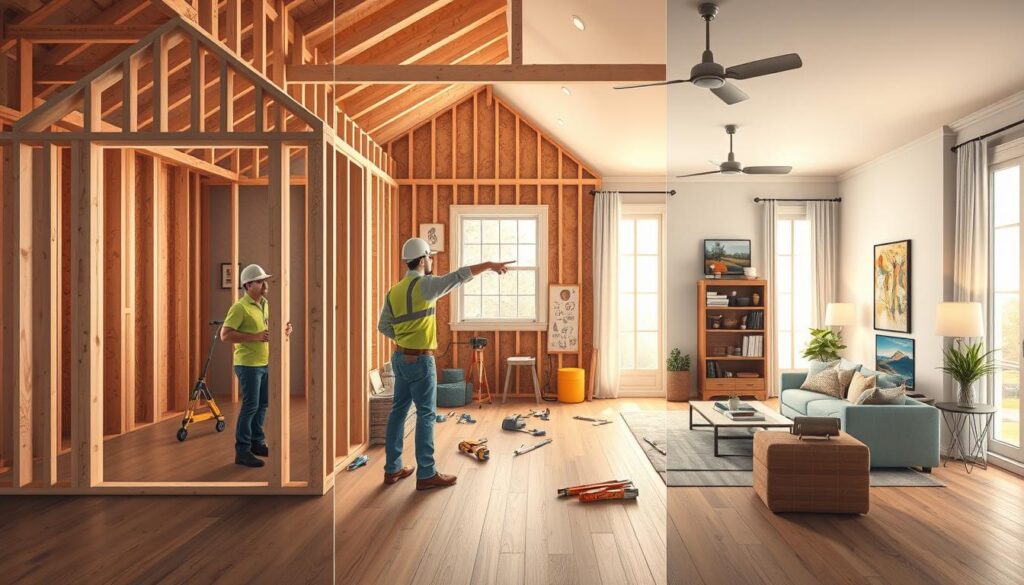
This is your digital foundation. We bury dreams in walls before drywall covers everything. Think of it as planting seeds for future tech.
- Run conduits for future upgrades
- Install rough electrical for smart switches
- Place low-voltage wiring for sensors
- Position speaker wires in ceilings
- Secure mounting brackets for TVs
Phase 2: Trim-Out Precision Period
After drywall but before move-in, we perform surgical connections. Every device gets its final home during this phase.
- Install smart switches and dimmers
- Mount control panels and touchscreens
- Connect audio speakers properly
- Place sensors on doors and windows
- Set up network equipment racks
Phase 3: Post-Move Fine-Tuning
Here’s where magic happens. Systems get tested with actual furniture and daily life. We adjust everything for real human use.
- Calibrate lighting scenes for room layouts
- Test HVAC zones with occupied spaces
- Adjust audio levels for furniture absorption
- Program automation based on actual routines
- Train homeowners on system operation
Each phase builds on the previous one. Miss the pre-drywall stage? You’ll pay triple for retrofits later. Skip trim-out? Enjoy visible wires everywhere. Neglect fine-tuning? Your smart home will feel pretty dumb.
The secret? Treat these construction phases like a symphony where instruments get built during the performance. It requires coordination, foresight, and accepting that technology evolves faster than drywall dries.
Aesthetic upgrades without rewiring (keypad swaps, shades)
Smart home solutions can be elegant without the mess of drywall dust. Why tear down walls when a simple change can make a big difference? I’ve seen many homes get a new look with surface upgrades, not full rewiring.
Light switches are a great place to start. Those old beige switches can turn into touch-sensitive wonders in no time. Modern smart switches fit right into old boxes, changing your home’s look instantly.
Window treatments are another smart choice. Smart shades can turn old blinds into automated light systems. They make your home’s lighting look like magic, all without changing the structure.
Wireless tech has come a long way. Now, you can get great performance without any wires. It’s like having a high-tech gadget without any visible parts.
Planning your smart home costs wisely means choosing wireless over wired. This saves on labor and keeps your home looking good. It’s smarter to work with what you have than to tear it all down.
These simple changes can give you 80% of the smart home benefits with just 20% of the usual mess. They’re like a custom-made suit for your home – all style, no structural changes. Your walls stay perfect, and your home gets smart enough to impress even Tony Stark.
Budgeting and contingency planning
Let’s talk about your budget. Financial surprises can ruin a retrofit smart home project. I’ve seen many budgets fail, like poorly put together IKEA furniture.
That 20% contingency fund is not just a suggestion. It’s your project’s safety net. Think of it as keeping an umbrella in your car. You might not need it, but you’ll be glad you have it when you do.
Where do costs hide in a retrofit smart home project? It’s not in the fancy gadgets. The real costs are in unexpected places:
- Electrical panel upgrades that cost more than your first car
- Wall repairs after running new wiring
- Professional programming time for system integration
- Permit fees and inspection costs
When spending, prioritize like a political strategist. Start with infrastructure, then add features. Good wiring is more important than smart light bulbs.
| Budget Category | Recommended Allocation | Common Oversights | Contingency Advice |
|---|---|---|---|
| Infrastructure | 40-50% | Panel upgrades, new circuits | Get multiple electrician quotes |
| Devices & Hardware | 25-35% | Compatibility issues, extra components | Buy from retailers with good return policies |
| Installation Labor | 15-25% | Unexpected complexity, additional time | Get fixed-price quotes where possible |
| Contingency Fund | 15-20% | Structural surprises, code requirements | Do not touch until absolutely necessary |
Remember, a “simple retrofit” might reveal old wiring. Your home’s electrical system could be older than your favorite vintage wine.
Spread out your spending like a Netflix series release. Drop money in strategic bursts. This lets you check progress and adjust before spending more.
Keep track of expenses like a hawk. Use budgeting apps, spreadsheets, or notebooks. Document everything. You’ll be glad during tax season.
The best retrofit smart home projects treat their budget like a living document. Review it weekly. Adjust it monthly. And never assume you’ve found all the hidden costs.
Smart budgeting turns renovation nightmares into dream homes. Plan for the worst, hope for the best, and always keep that contingency fund untouched until absolutely necessary.
Protect finishes: dust, noise, and access plans
The real challenge in home automation isn’t the tech itself. It’s the dust that seems to appear out of nowhere. I’ve seen beautiful homes turn into post-apocalyptic scenes.
Cleaning up can cost more than the tech itself. It’s not just about keeping surfaces clean. It’s about keeping your sanity.
Start by setting up containment zones like a CDC team. Use plastic sheeting to block off areas. Seal doors, cover vents, and create negative air pressure.
Managing noise is like directing a Broadway show. Do noisy work during quiet hours. Know your local noise laws well.
Good access planning is key. Know how contractors will enter and move equipment. Protecting floors is as serious as handling nuclear codes.
The wireless vs wired debate affects your plan. Wireless systems are less disruptive but less reliable. Wired systems are more invasive but more reliable.
| Protection Method | Wireless Approach | Wired Approach | Effectiveness Rating |
|---|---|---|---|
| Dust Containment | Minimal barriers needed | Full-room sealing required | Wireless: High | Wired: Medium |
| Noise Management | Quick installation | Extended drilling periods | Wireless: High | Wired: Low |
| Floor Protection | Basic pathway covering | Full-floor encapsulation | Wireless: High | Wired: Medium |
| Time Investment | Hours to days | Days to weeks | Wireless: High | Wired: Low |
In urban areas, consider a luxury apartment smart home retrofit. It’s all about minimal disruption. These projects need precise planning and execution.
The smartest home isn’t just about tech. It’s about installing it without turning your home into a construction zone.
Temporary networks and gear during remodel
Your Wi-Fi might act up during a renovation, just like a reality TV star. Routers can get upset by dust, making your digital life unstable. It’s key to have a backup plan for your network while your space is being updated.
Setting up a temporary network is more than just a convenience. It helps keep your sanity. Imagine trying to work from home with demolition sounds in the background. Your temporary setup acts like digital noise-canceling headphones.
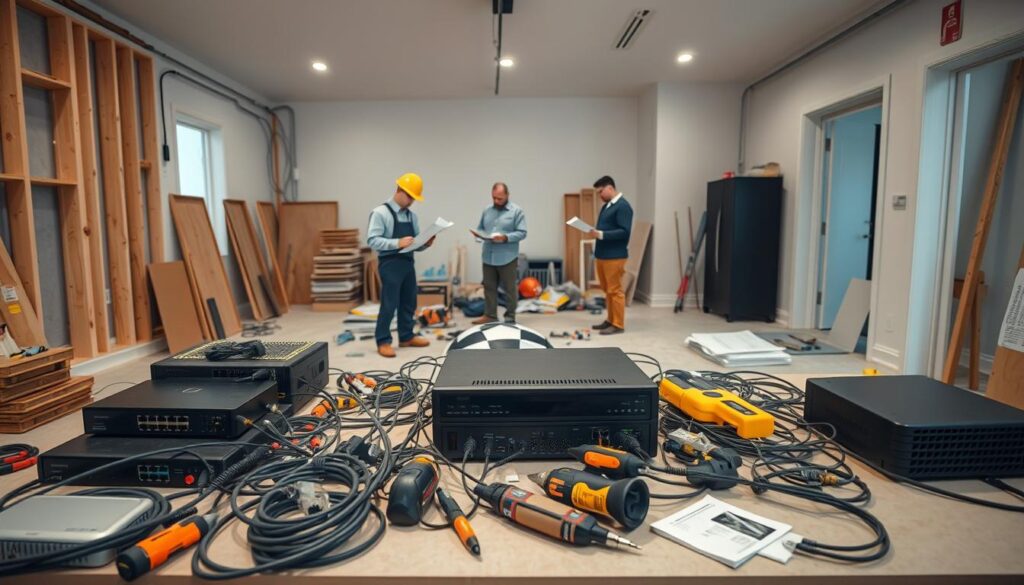
At the start of construction, pick a spot that’s less affected. Think of it as your digital command center. Use quality Ethernet cables and powerline adapters if wiring is hard.
Here’s how to keep your network stable during remodels:
- Choose a clean room away from construction
- Use mesh nodes with wired backhaul
- Manage cables weatherproofly
- Check your network daily
The table below shows how your network needs change during construction:
| Construction Phase | Network Priority | Recommended Gear | Expected Speed Loss |
|---|---|---|---|
| Demolition | Basic connectivity | Single router + Ethernet | 20-30% |
| Framing/Electrical | Stability | Mesh system + surge protection | 15-25% |
| Drywall/Finishing | Performance | Multiple access points | 10-20% |
| Final Trim | Optimization | Permanent installation | 0-5% |
Remember, upgrading legacy systems might need creative solutions. I’ve run Ethernet through HVAC ducts and used outdoor cables. The goal is to keep things working without messing up the final setup.
Your temporary network should be like a good understudy. It should be ready to step in when needed. Plan for different construction phases with backup connections. Nothing ruins renovation vibes faster than slow internet.
Pro tip: Label everything carefully. When the final setup is done, you’ll be glad you kept track of your cables.
Documentation and owner handover
I’ve seen smart home systems as complex as a 747 cockpit handed over with little documentation. We turn from installers to educators, making materials easy for everyone to understand.
What’s the point of a million-dollar smart home if only the installer knows how to use it? We’re talking about the difference between a system used every day and one that’s just a fancy paperweight.
Our method starts with clear circuit maps that are easy to read. They’re color-coded, clearly labeled, and organized – unlike most IKEA instructions.
We make user guides simple, even your tech-averse relatives can use them. No complicated terms, just straightforward steps that answer your questions.
Smart cost planning means budgeting for good documentation from the start. It’s not an afterthought. Good documentation saves money by cutting down on service calls and frustration.
The handover process makes your investment useful. We go through every feature, answer all your questions, and leave you with materials you’ll use. Because the best smart home is one you can use without needing tech support.
Case studies: condo retrofit vs new build estate
Imagine a condo retrofit smart home project. It’s like doing open-heart surgery through a tiny hole. You have to work around existing walls and avoid disturbing neighbors. We once worked on a 1920s building with wiring that seemed to hide secrets.
Wireless vs wired was a matter of survival there.
On the other hand, a new build estate is like starting from scratch. It offers complete freedom but comes with the stress of a NASA launch. Here, construction phases are smooth, like a symphony. The budget was huge, allowing for no compromises.
Let’s look at some numbers. The condo retrofit cost 30% more in labor but saved on materials. The estate, with double the budget, had half the problems. Wireless vs wired choices affected both projects differently.
One thing is clear: success in smart homes isn’t about the perfect situation. It’s about being adaptable. Whether you’re working with old buildings or starting from scratch, the key principles stay the same. What’s your project’s story?