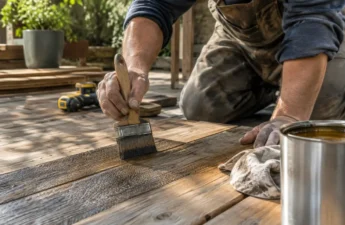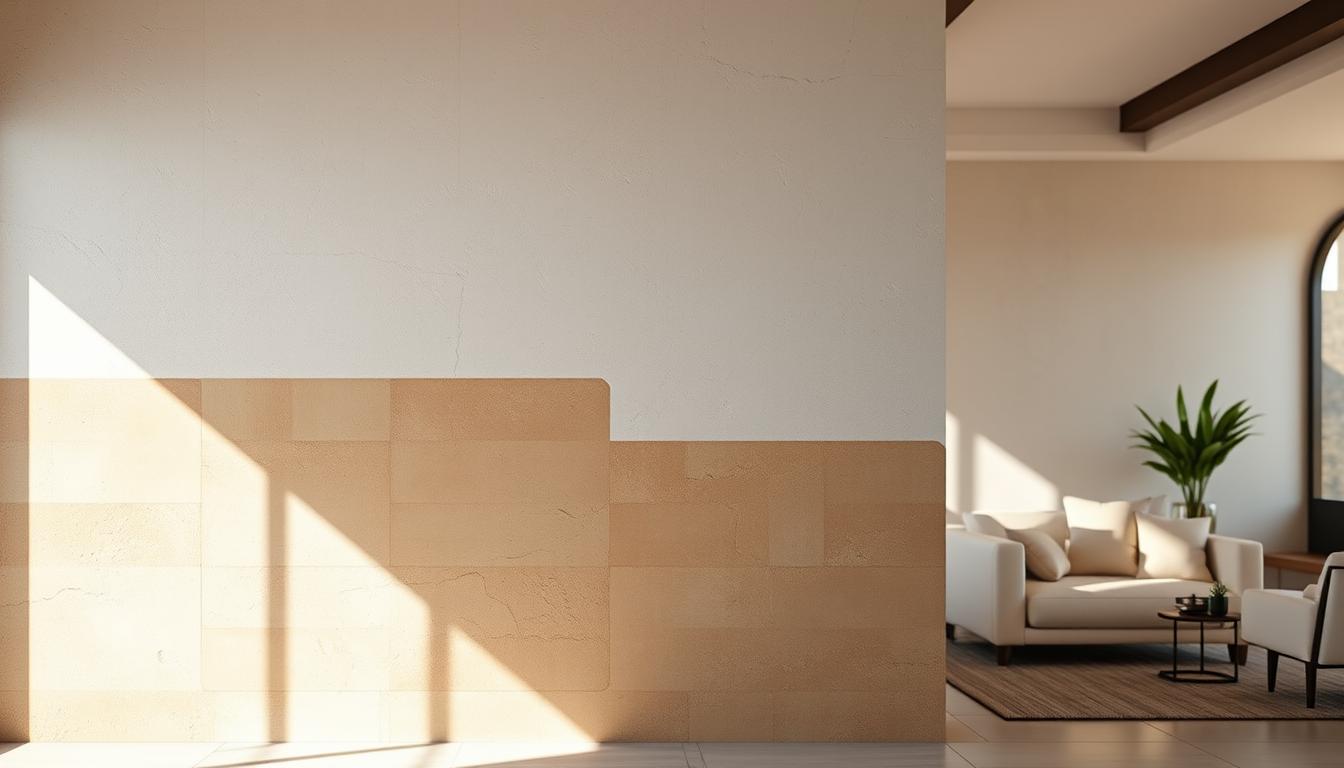
Let’s get real about wall finishes. Lime paint isn’t just a fancy wall color. It’s a complex process that turns slaked lime into a stone-like masterpiece over decades. This isn’t just paint; it’s the slow-food movement of wall coatings.
When slaked lime absorbs carbon dioxide, it hardens into limestone. This gives your walls a durable yet breathable finish. This breathability lets moisture vapor escape, keeping mold away. It’s like having a centuries-old structure’s confidence.
Aggregates like marble dust add texture and light refraction. They create a three-dimensional depth that feels like ancient Roman villas.
Now, let’s talk about color. Mineral oxide pigments provide UV-stable hues that age gracefully. Unlike synthetic dyes, these colors don’t fade fast. If you’re tempted to use acrylic “lime paint,” remember: real lime paint is a thin, breathable wash. Its denser counterpart offers a sculptural elegance.
If you want to elevate your space, understanding these finishes is key. Once you get it, you’ll never see a flat-painted wall the same way again. Curious to learn more? Check out this guide for deeper insights.
Systems limewash clay marmorino tadelakt when to choose which
Choosing a wall finish is like picking your favorite drink. Each option has its own unique taste and style. When deciding between limewash, clay plaster, marmorino, and tadelakt, knowing their differences is key.
Limewash is like a friendly aperitif. It’s easy to apply and gives a soft, matte finish. It’s good at hiding flaws. It costs about $200 per 100 square feet and needs a new coat every five years.
Marmorino is a sophisticated Venetian plaster. It’s applied with a trowel and has a smooth stone texture. It costs around $500 per 100 square feet and lasts over 15 years. As it ages, it develops a beautiful marble-chip look.
Tadelakt is a Moroccan lime plaster. It’s made waterproof with olive oil soap. Applying it is a bit of a workout, but it’s perfect for wet areas.
Clay plaster is a natural, DIY-friendly choice. It’s soft and earthy, great for a rustic look. But it’s not as durable as the others, so it’s best for low-traffic areas.
Choosing the right finish is like pairing a drink with your meal. You wouldn’t pair a strong red wine with fish. Match your wall finish to your room’s humidity and how much traffic it gets. Don’t put glossy Venetian plaster in a steamy bathroom without thinking about tadelakt.
Sample process boards sheen burnish veining color layering approvals
Diving into the world of sample boards is like stepping into an artist’s studio—it’s where creativity meets precision. These boards are essential for testing sheen, burnish levels, veining effects, and color layering. Think of them as your secret weapon in the quest for the perfect wall finish.
Professional applicators create multiple mockups under different lighting conditions. Why? Because I’ve seen designers weep over a board that looked perfect at noon but turned corpse-gray under LED lights. Mocking up at least three variations is not just a suggestion; it’s a necessity. Move them around the room like a detective with a suspect, letting the light reveal their secrets.
Burnish, in particular, is the final act—a rhythmic pressure with a trowel or steel float that compresses the surface and unlocks depth. Too early, and you gouge; too late, and you get a dull patch that mocks your effort. It’s a delicate dance, one that can make or break your masterpiece.
Approvals aren’t merely a formality; they’re a contract with reality. Get the client to sign off on the board, not a Pinterest photo. After all, “warm taupe” can mean ten different things once the lime starts carbonating. This is the stage where you learn that plaster is not paint—it’s a living finish, and your sample board is its first breath.

Substrate prep primers mesh corners movement joints moisture tests
Proper substrate preparation is the unsung hero of wall finishes. Without it, your plaster could flake off like a bad sunburn. I’ve seen it happen—rooms where Venetian plaster peels in sheets because someone thought primer was optional. Spoiler alert: it’s not.
To create a solid foundation, you need a quartz-based primer, like Meoded Quartz Primer. This is your mechanical key. Without it, your trowel is just spreading expensive mud on a slip-n-slide. Think of it as the glue that holds your masterpiece together.
Next up is mesh. Embedding mesh at corners and movement joints is non-negotiable. Buildings shift, and if your plaster can’t flex, it’ll crack like a politician’s promise. So, be smart—install mesh to allow for that necessary give.
Now, let’s talk moisture tests. Lime plaster breathes, but if the substrate is weeping like a Gothic novel, you’ll end up with efflorescence that resembles a salt flat. I once encountered a basement wall where the contractor ignored a moisture reading of 18%. The result? A finish that looked like a topographical map of the moon.
All this prep work may be invisible in the final reveal, but it’s the difference between a wall that lasts decades and one that becomes a cautionary tale at design conferences. So, embrace the tedium: test, prime, mesh, and only then can you play Michelangelo.
Wet locations tadelakt technique soaps shower niches and slopes
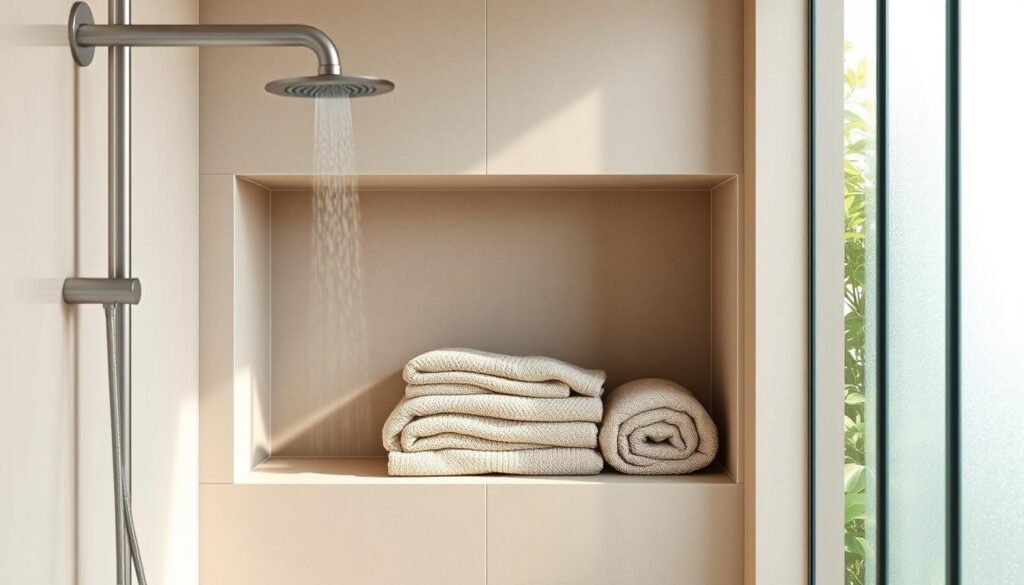
The tadelakt technique is a mix of art and engineering, perfect for wet areas. It uses a special Moroccan lime plaster that becomes waterproof with olive oil soap. This process is not just a finish; it’s a way of life that needs care and attention.
Picture stepping into a shower with tadelakt, where water just slides off. I’ve seen it in Moroccan hammams, shining under steam. But remember, this isn’t a simple DIY task. It needs careful application and no caulk lines that can leak.
Here are some key tips for a great tadelakt shower:
- Burnishing: Rub the soap into the plaster with a stone, filling in pores until it’s smooth and strong.
- Seamless Niches: Make sure shower niches fit perfectly to avoid leaks and ugly lines.
- Precise Slopes: The floor slope must be just right to stop puddles and mold.
If tadelakt seems too hard, think about microcement, like Meoded Concretta. It’s a modern, waterproof option that’s easier to handle. But don’t use regular Venetian plaster here; it lets water through and can cause mold.
In short, wet areas need respect and care for water. Choose tadelakt for its beauty and function, or pick something simpler if you’re not up for the task. Either way, make smart choices to keep your spaces looking great.
Tools and craft hawk trowel knife floats burnish sequence timing
When it comes to plastering, the right tools are key. Each tool has its own role, turning raw materials into beautiful surfaces.
The Venetian trowel is your main tool. It has a flexible, rectangular blade that’s 12-14 inches long. It helps spread a 2mm coat smoothly. But, if you hold it wrong, you might end up with a mess.
The hawk holds the plaster for you. It’s simple but very important. The margin knife helps clean edges for a professional look. And the steel floats are used to make the surface shiny.
Timing is everything in plastering. If you burnish too soon, you’ll leave marks. Wait too long, and your walls will look dull. The right sequence is: apply, wait, trowel, wait, burnish. Each step must match the plaster’s drying time.
To get better, practice on a board until the trowel feels like a part of you. When you master the burnish, your walls will shine. It’s like unlocking a secret that only artisans know.
| Tool | Function | Best Practices |
|---|---|---|
| Venetian Trowel | Spreading plaster | Hold at a 30-degree angle |
| Hawk | Holding plaster | Keep steady and balanced |
| Margin Knife | Cleaning edges | Use for precision cutting |
| Steel Floats | Burnishing | Apply even pressure |
Lighting considerations grazing vs washing mockups in night and day
Light can be your ally or enemy when working with plaster walls. The right light can highlight your skills, while the wrong one can reveal every flaw. Let’s explore the differences between grazing and washing light, two key tools in your toolkit.
Grazing light acts like a spotlight, showing every detail and imperfection. It’s harsh, making even the best work look rough. On the other hand, washing light falls softly, creating a warm glow. It blends textures, making surfaces look smoother.
Mockups are vital for seeing how plaster will look under different lights. It’s important to check them in natural daylight and artificial night lighting. Daylight changes color, while warm LEDs can reveal amber tones. For example, a tadelakt shower niche looked like a surgical room under cool lights. But 2700K made it a spa. Light truly has power!
To see the differences, here’s a comparison table:
| Lighting Type | Effect on Texture | Best Use Case |
|---|---|---|
| Grazing Light | Highlights imperfections | Showcasing detail in textures |
| Washing Light | Softens appearance | Creating a warm, inviting atmosphere |
| Natural Daylight | True color representation | Initial evaluations and mockups |
| Artificial Night Lighting | Can alter color perception | Final approvals and adjustments |
The key takeaway? Don’t decide on sheen or color until you see it in the room’s actual lighting. Move around with a lamp, letting light be your final judge.
Care and repair dents color match re‑burnish reseal cadence
Caring for your lime plaster wall is like tending to a garden. If you neglect it, problems will arise. Lime plaster can fix minor cracks on its own. It’s like a self-healing magic.
Dealing with dents is easy. Just fill them with a matching mix, re-burnish, and they’ll blend in. Make sure you have a record of your original color. Saving a jar of dry mix can prevent color-matching headaches later.
The real challenge is the sealer. For Venetian plaster, a wax sealer like Patina Wax is needed every couple of years. This keeps the surface looking good, even in busy areas.
Tadelakt needs a special care. It must be re-burnished with olive oil soap to stay waterproof. I once saw a neglected tadelakt shower that started soaking up water like a camel. It was a big lesson learned.
So, how often should you maintain your plaster? Busy spots need love every year. Less busy areas can go 4 to 5 years. Treat your plaster like a leather jacket—care for it, and it will age beautifully.
| Area Type | Maintenance Frequency | Sealer Type |
|---|---|---|
| High-Traffic Areas | Every 1-2 Years | Wax Sealer |
| Low-Traffic Walls | Every 4-5 Years | Wax Sealer |
| Tadelakt Showers | Annually | Olive Oil Soap |
Cost drivers artisan level coats mobilization curing windows
Exploring the cost of plastering reveals a complex picture. It’s not just about the materials. It’s also about the skill of the artisan, the number of coats, and mobilization fees. For a DIY project, limewash is a cost-effective choice, covering 100 square feet for about $200. But, a mistake can ruin your weekend.
Professional Venetian plastering, on the other hand, costs between $12 and $18 per square foot. This price includes applying 2-3 coats and the detailed burnishing that turns a wall into art. Each coat takes 12-24 hours to cure, so a three-coat job can take days.
Let’s break down the key cost drivers:
| Cost Driver | Description | Impact on Budget |
|---|---|---|
| Artisan Skill Level | Experience and expertise of the plasterer | Higher skill means higher costs, but better results |
| Number of Coats | Typically 2-3 for optimal finish | More coats increase material and labor costs |
| Mobilization Fees | Cost for the crew to travel to your location | Can be significant if you’re in a remote area |
| Curing Time | Time required for each coat to set | Delays project completion and may incur additional costs |
Here’s a surprising fact: a $500 DIY marmorino wall might seem cheap, but over 10 years, it could cost more than a Venetian plaster wall. This is like the story of the tortoise and the hare in economics. So, when planning your budget, think about the long-term costs, not just the initial price.
If you’re tempted to choose the cheapest option, remember: a bad plaster job is hard to fix. It’s like a bad tattoo. Spend wisely on your walls; they’re worth it!
Vendor shortlist RFP template warranties and maintenance plan
Choosing a vendor for your plaster project is like picking a fine wine. You need someone who knows lime and plaster well, not just a quick fix. Start by making a list of trusted dealers. Look for names like The Decora Company for San Marco products or Meoded’s network for Lamundo and Tintoretto lines.
Don’t just Google “plaster guy” and hope for the best. That usually ends in disappointment.
Your RFP template should be detailed. Ask for a portfolio of real projects, not just a few photos. Request references you can call, detailed product info, and a clear warranty. Most warranties cover material defects but not application mistakes.
Make sure the vendor primes the surface. Skipping this can void your warranty.
Also, ask for a maintenance plan. It should cover how often to reseal, which products to use, and what to do if your child redecorates. I’ve seen contracts that were vague and those projects rarely succeed.
Your RFP should also ask about mobilization, curing schedules, and cleanup. Treat this like hiring an architect for a masterpiece. A plaster wall is a durable, beautiful piece that deserves a detailed guide.